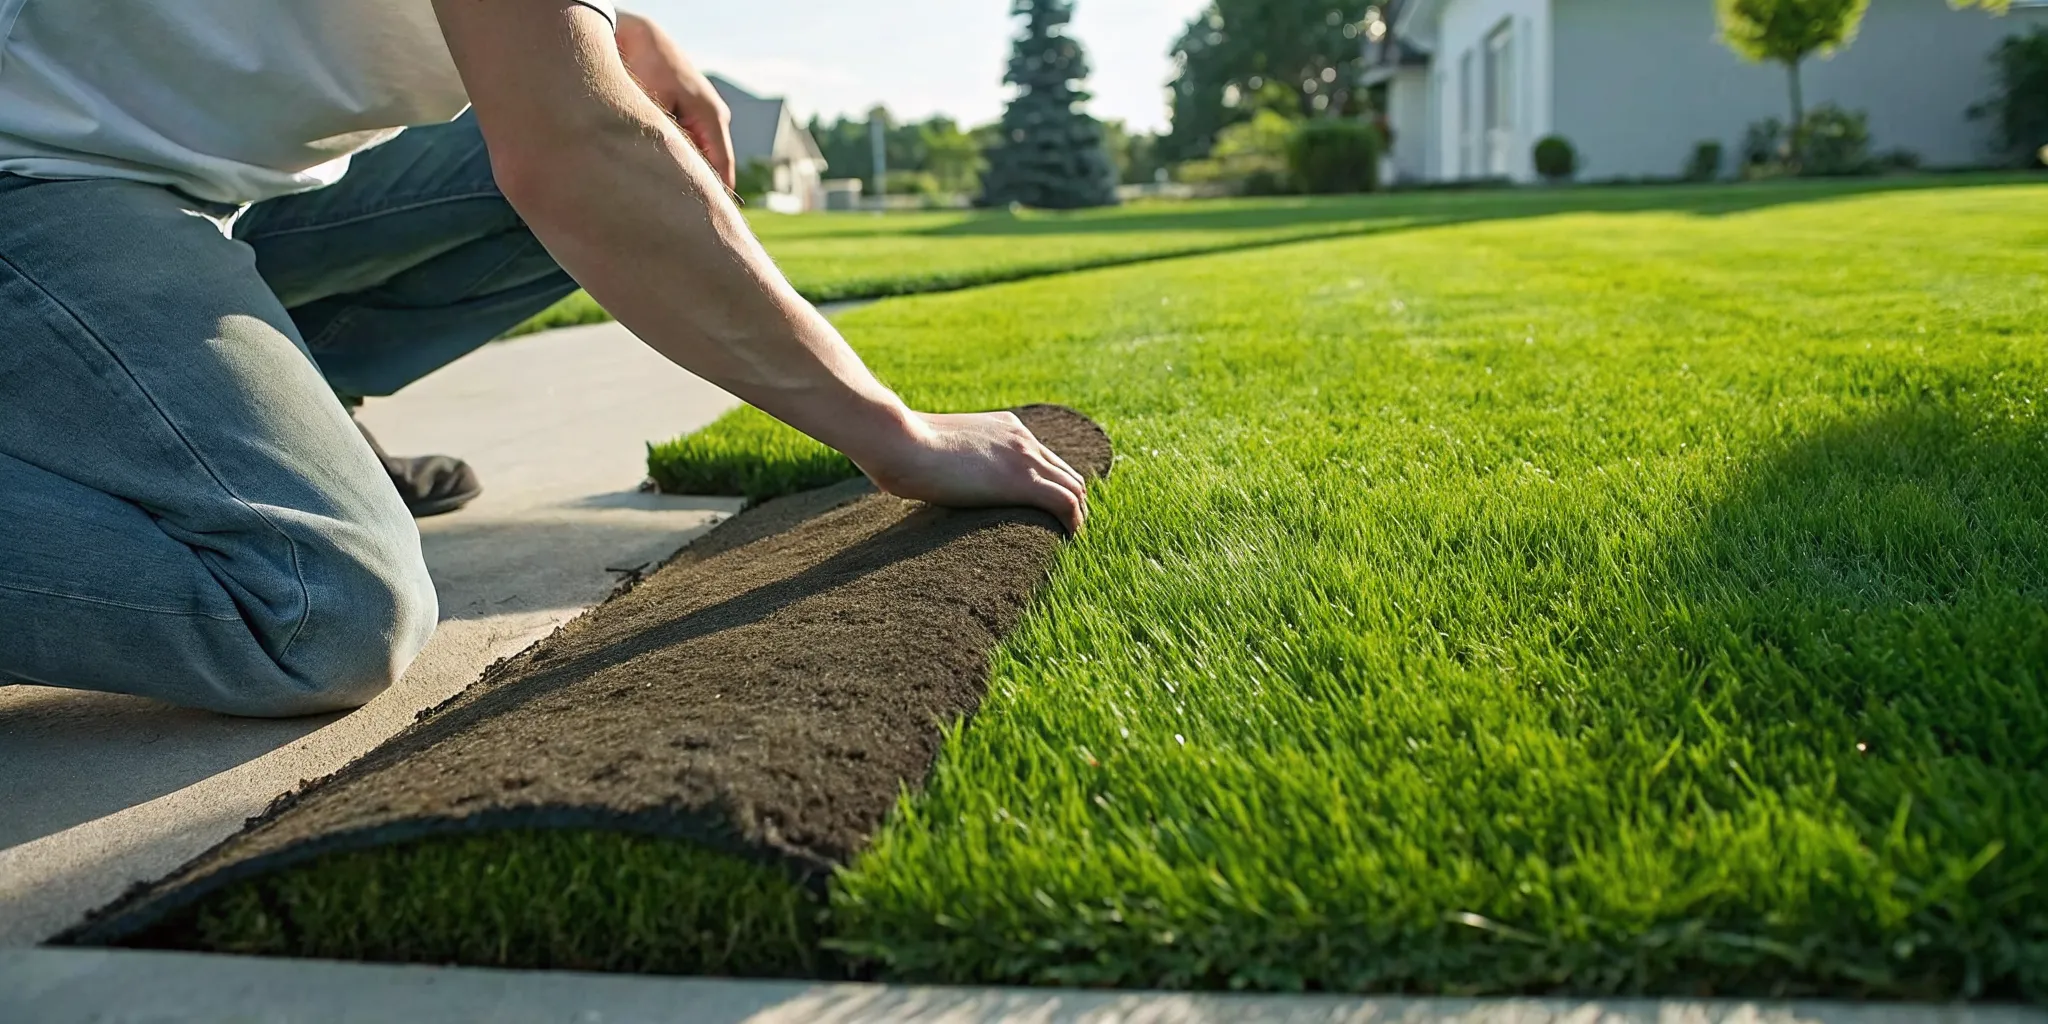
A healthy lawn can still struggle when a dense organic layer builds up between the grass and soil. That layer may slow the movement of water, air, and nutrients, leaving turf feeling spongy underfoot and recovering slowly from everyday stress. The challenge is knowing whether dethatching is necessary, when the grass can recover, and how to remove the material without weakening the lawn.
This lawn dethatching guide explains how to identify excessive thatch, measure its depth, and choose the right timing for cool-season and warm-season grass, and complete the process step by step. It also covers when core aeration, which addresses compacted soil, may be more appropriate than dethatching.
Before reaching for a rake or machine, it helps to understand what thatch is, how it forms, and why a moderate layer can support turf while excessive buildup creates problems.
What Is Thatch and Why Does It Matter?
Thatch is a layer of dead, non-decayed organic matter, including roots and stems, that sits between the soil surface and the green grass shoots. A thin layer is not automatically a problem. It can provide some cushioning and improve a lawn’s tolerance for normal foot traffic. The concern begins when thatch accumulates faster than the lawn can break it down.
When thatch helps, and when it hurts
Healthy turf has a balance between organic matter production and decomposition. Soil microorganisms gradually break down dead plant material into finer organic matter, including humus, that becomes part of the soil. This natural biological process is beneficial. It recycles material rather than allowing a dense mat to form at the surface.
Excessive thatch can act like a barrier. It may limit the movement of air, water, and nutrients into the soil, while creating conditions that favor disease organisms and insects. It can also make the lawn feel unusually spongy underfoot. As a general guide, thatch should not exceed about 1/3 inch in cool-season grasses such as Kentucky bluegrass, fescue, or ryegrass, or 1/2 inch in warm-season grasses. These thresholds come from Oklahoma State University Extension.
What causes excessive thatch?
Several conditions can slow decomposition. Compacted or waterlogged soil limits the oxygen available to microorganisms, while acidic soil can also reduce their activity. Over-application of nitrogen, especially in spring, may encourage rapid top growth that produces organic material faster than it can decompose. Managing soil conditions and fertilizing according to the lawn’s needs are therefore important parts of long-term thatch control.
Grass clippings are often blamed, but that is usually a myth. When you mow at the appropriate frequency and height, clippings break down readily and do not cause thatch buildup. The key question is not whether a lawn has any thatch. It is whether the layer has become thick enough to interfere with turf function. University of Minnesota Extension’s thatch guidance explains how soil conditions and microbial activity affect that balance.
How to Tell if Your Lawn Needs Dethatching
Before you remove any thatch, inspect the lawn instead of relying on appearance alone. A thin layer can support turf, while an excessive layer can interfere with the movement of water and nutrients. Grass type matters when you decide whether the layer is too thick: cool-season lawns. Such as fescue, Kentucky bluegrass, and ryegrass, should generally stay at or below 1/3 inch. Warm-season lawns can typically tolerate up to 1/2 inch. These thresholds come from Oklahoma State University Extension’s thatch management guidance.
Use the turf plug test
The most reliable DIY check is to remove a small triangular plug from an inconspicuous area of the lawn. Use a sharp spade or soil knife to cut approximately 3 to 4 inches deep, then lift the plug carefully. Look at the side of the sample and identify the spongy, matted brown layer between the green grass and the soil. Measure that layer itself, not the full depth of the plug.
Compare the measurement with the threshold for your grass type. A layer above 1/3 inch in a cool-season lawn deserves attention sooner than the same measurement in a warm-season lawn. If the layer is more than 1/2 inch, dethatching is generally warranted, provided the turf is healthy enough to recover. The University of Minnesota Extension describes this plug method in its thatch control guide.
Pay attention to how the lawn feels
Walk across several areas of the lawn, especially places that receive regular foot traffic. Excessive thatch often creates a noticeably spongy feeling underfoot. This walk test is a useful warning sign, but it should support, not replace, a depth measurement. A lawn that feels spongy and has a thatch layer over 1/2 inch is a strong candidate for dethatching.
Do not confuse this diagnosis with soil compaction. Dethatching removes the organic layer at the surface, while aeration targets compacted soil. If your assessment points to both problems, review ExperiGreen’s lawn aeration and dethatching services to determine which treatment, or combination, fits your turf.
When to Dethatch: Timing by Grass Type and Region
The right timing depends first on the grass growing in your yard. Identify the grass type before scheduling or starting the work, because cool-season and warm-season turf recover on different calendars. Dethatching removes a layer of organic material and can temporarily stress the lawn. So the work should happen while the grass is actively growing and able to repair itself.
Cool-season lawns: early fall is usually best
Cool-season grasses, including common fescues, Kentucky bluegrass, and perennial ryegrass, should generally be dethatched in early fall or mid-spring. Early fall is often the stronger choice because soil temperatures and moisture can support recovery, while the grass is preparing for vigorous root development before winter. In spring, complete the work early enough to allow the lawn to recover before summer heat and drought pressure arrive.
For ExperiGreen markets in Chicago, Detroit, Indianapolis, Columbus, and Cincinnati, early fall is the primary dethatching window for cool-season lawns. The same timing generally applies in Canton, Akron, and South Bend. Homeowners planning a broader fall lawn preparation routine can coordinate dethatching with other seasonal lawn-care decisions, provided the lawn actually has excessive thatch.
Warm-season and transition-zone lawns need a different window
Warm-season grasses should be dethatched in late spring to early summer, when active growth gives the turf the best chance to fill back in. Avoid treating dormant or slowly growing grass, since recovery will be limited and the exposed surface may remain vulnerable for longer.
Charlotte sits in a transition zone, where lawn composition and seasonal conditions can vary. Many yards may contain warm-season turf, cool-season turf, or a mixture, so do not rely on the calendar alone. Confirm the dominant grass type and schedule dethatching for its active-growth period. If the lawn contains mixed grasses, a local assessment can help balance the timing rather than favoring one species at the expense of another.
Dethatch only when the lawn needs it
Seasonal timing does not mean dethatching should become an annual routine. Most lawns do not need to be dethatched every year. First check whether the thatch layer has exceeded the appropriate threshold for the grass type. And consider whether the lawn shows symptoms such as a spongy feel or poor water movement. If the layer is modest, regular mowing and sound soil care may be enough to support natural decomposition.
When the lawn is stressed by heat, drought, dormancy, or active disease, postpone aggressive dethatching until conditions improve. Correct timing reduces avoidable damage and gives the turf a better opportunity to recover.
How to Dethatch Your Lawn: A Step-by-Step Guide
Dethatching is most effective when you prepare the lawn, protect buried equipment, and work methodically. The right tool depends largely on the size of the lawn and the amount of thatch present. Follow these steps to remove the matted organic layer without creating unnecessary stress for the grass.
-
Step 1: Mow Low
Mow the lawn shorter than its normal maintenance height before dethatching. Shorter grass gives the rake or machine better access to the thatch layer near the soil surface. Mow only when the lawn is actively growing and avoid working saturated soil, which can increase surface damage and compaction.
-
Step 2: Mark Sprinkler Heads and Obstacles
Walk the lawn and mark every sprinkler head, landscape light, drain, edging feature, and other obstacle. Power dethatchers can damage sprinkler heads that are shallow or not clearly marked. Use visible flags or another temporary marker, and keep the machine away from areas where roots, cables, or irrigation components may be close to the surface. This precaution is supported by the University of Illinois guidance on managing thatch.
-
Step 3: Choose Your Tool
For a small lawn or a limited problem area, use a manual thatch rake. Its tines let you control pressure and work around beds, trees, and irrigation components. Larger lawns usually require a power rake or power dethatcher to cover the area efficiently. Adjust the machine so it removes the thatch layer without aggressively scraping the soil or tearing out healthy crowns.
-
Step 4: Dethatch in Perpendicular Passes
Make the first pass in one direction, then make a second pass perpendicular to the first. Crossing the passes helps the tines reach thatch distributed in different directions and provides more thorough coverage. Work in manageable lanes, slow down near obstacles, and inspect the surface as you go. Stop if the equipment is pulling up large amounts of living grass or disturbing the soil excessively.
-
Step 5: Rake and Remove Debris
After dethatching, rake the loosened material into manageable piles and remove it from the lawn. Bagging the debris prevents the dead material from settling back into the turf and reveals any thin or exposed areas that may need follow-up care. If the lawn is large, heavily compacted, or difficult to treat evenly, ExperiGreen offers professional power dethatching. You can also review our lawn aeration and dethatching services to plan the next step for your turf.
What to Do After Dethatching for Best Results
Dethatching removes the dense organic layer that can interfere with the movement of air, water, and nutrients into the soil. The lawn may look thin or uneven afterward, but that exposed surface creates an opportunity to help desirable grass recover before weeds fill the gaps.
Overseed exposed areas promptly
Removing heavy thatch can expose bare soil. Without prompt follow-up care, those open areas may create better opportunities for weeds to establish. Overseed suitable areas soon after dethatching, following the recommended seed choice and application rate for your grass type and region. Keep the seedbed consistently moist while new grass establishes, and avoid traffic that could disturb the seed.
For practical guidance on timing and preparation, see overseeding to restore your lawn. The goal is not simply to make the lawn look fuller. New turf also helps occupy open growing space and supports a more uniform stand over time.
Support recovery with appropriate nutrition
Dethatching can be stressful because it removes material and disturbs the turf surface. Fertilizing afterward can help the lawn recover more quickly, but the product, rate, and timing should match the grass and current growing conditions. Avoid treating fertilizer as a substitute for soil testing or basic watering and mowing practices. Applying more than the lawn needs can create additional management problems.
Know whether aeration is also needed
Dethatching and aeration address different problems. Dethatching removes or reduces the surface layer of dead organic material. Core aeration targets compacted soil by creating channels that improve the movement of air, water, and nutrients below the surface. Because compaction can limit root growth and slow natural decomposition, the two practices are often complementary rather than interchangeable.
| Factor | Dethatching | Core Aeration |
|---|---|---|
| What it targets |
Surface organic layer (thatch) |
Compacted soil below the surface |
| When to use |
Thatch exceeds 1/3″ (cool-season) or 1/2″ (warm-season) |
Soil is hard, water pools, or roots struggle to penetrate |
| Best season |
Early fall or mid-spring (cool-season); late spring (warm-season) |
Spring or fall when grass is actively growing |
| Tools used |
Thatch rake or power dethatcher (power rake) |
Core aerator that removes soil plugs |
| What it removes |
Dead organic matter from the surface |
Small cores of soil (2-3 inches deep) |
| Follow-up needed |
Overseeding and fertilization recommended |
Overseeding works well; plugs break down naturally |
If the lawn has both a heavy thatch layer and compacted soil, a professional assessment can help determine the appropriate sequence. Learn more about managing thatch through aeration, or review ExperiGreen’s guidance on lawn aeration and dethatching services before planning the work.
How to Prevent Thatch Buildup Long-Term
Prevention is usually easier on the lawn than waiting for a thick thatch layer to require aggressive removal. The goal is to keep organic matter decomposing at a steady rate while avoiding the conditions that encourage it to accumulate.
Mow correctly and leave healthy clippings in place
Grass clippings are not the enemy. When you mow at the proper frequency and height, fine clippings break down quickly and do not create thatch. Avoid removing too much leaf tissue at once, and keep mower blades sharp so the grass is cut cleanly. Regular mowing also helps prevent excessive top growth that can add more organic material than the soil can process.
Balance fertilizer, water, and soil conditions
Over-fertilization, particularly excessive spring nitrogen, can push rapid top growth and contribute to faster thatch production. Use a balanced fertilization plan rather than applying more product than the lawn needs. Regular watering supports turf health, but heavy or poorly timed watering can leave soil waterlogged and slow the microorganism activity responsible for decomposition.
Compaction and acidic soil conditions can also slow decomposition. Maintaining an appropriate soil pH and correcting drainage or compaction issues gives the soil biology a better environment for breaking down organic matter. Core aeration opens pathways through compacted soil and supports microorganism activity, making it a key part of managing thatch through aeration.
Monitor the lawn before problems become severe
Watch for a spongy feel, declining water movement, or recurring stress and disease symptoms. These signs do not prove thatch is the cause, but they indicate that the soil and turf deserve closer evaluation. Preventive maintenance can also support preventing lawn diseases linked to thatch.
ExperiGreen lawn care programs help maintain healthy thatch levels through consistent mowing guidance, balanced fertilization, watering recommendations, soil health practices, and timely aeration. With steady care, dethatching becomes a targeted treatment rather than a recurring emergency.
Frequently Asked Questions
What is thatch?
Thatch is a layer of dead, non-decayed organic matter, including roots and stems, between the soil surface and the green grass shoots. A thin layer can be normal, but excessive buildup can interfere with air, water, and nutrients reaching the soil. Oklahoma State University Extension explains thatch management.
How do I know if my lawn needs dethatching?
Remove a triangular plug of turf about 3 to 4 inches deep and measure the spongy, matted layer between the grass and soil. Cool-season lawns generally should not exceed 1/3 inch of thatch, while warm-season lawns generally should not exceed 1/2 inch. A noticeably spongy feel underfoot is another warning sign. University of Minnesota Extension describes how to measure thatch.
When is the best time of year to dethatch?
Dethatch cool-season grasses in early fall or mid-spring, when the grass can actively recover. For warm-season grasses, late spring to early summer is generally the better window. Avoid treating dormant or heat-stressed turf, and confirm your grass type before scheduling the work. University of Illinois Extension provides seasonal timing guidance.
How often should I dethatch my lawn?
Do not dethatch on a fixed annual schedule. Test the thatch layer first and remove it only when it exceeds the recommended depth for your grass type or creates clear turf problems. Regular mowing, balanced fertilization, and sound soil management can help prevent unnecessary buildup.
Can dethatching damage in-ground sprinklers?
Yes. Power dethatchers can damage sprinkler heads that are shallow or not marked before work begins. Locate and mark every head, valve box, and other irrigation feature before using powered equipment. If the irrigation layout is uncertain, a lawn care professional can help reduce the risk.
Ready to Schedule Professional Lawn Care?
Knowing when to dethatch and how to protect your lawn afterward can make seasonal care more effective. If you would like help determining whether dethatching or aeration fits your lawn’s needs, schedule a professional lawn dethatching and aeration service with ExperiGreen. Our team can help you choose a practical next step based on your lawn’s condition and the care it needs.
ExperiGreen serves homeowners in Chicago, Charlotte, Canton/Akron, Cincinnati, Columbus, Detroit, Indianapolis, South Bend, and more.